
Automate Web Scraping with the Best CAPTCHA Solving Expert - CapSolver
Bypass a variety of CAPTCHA challenges with CapSolver, the most professional solver in bypassing seamless CAPTCHA challenges, making your web scraping more smoothly.
Dec 25, 2025


Experience ultimate browsing security and customization with XLogin Antidetect Browser. Manage multiple accounts, protect your privacy, and enjoy seamless online experiences.
In today's interconnected world, maintaining a consistent online presence is crucial for businesses and individuals alike. However, managing multiple accounts, protecting sensitive information, and ensuring seamless browsing across various platforms can be a daunting task. Our partner XLogin Antidetect Browser introduces a powerful tool for enhancing online security and privacy. With its unique features and capabilities, XLogin Antidetect Browser provides users with an unparalleled browsing experience, ensuring anonymity and security.
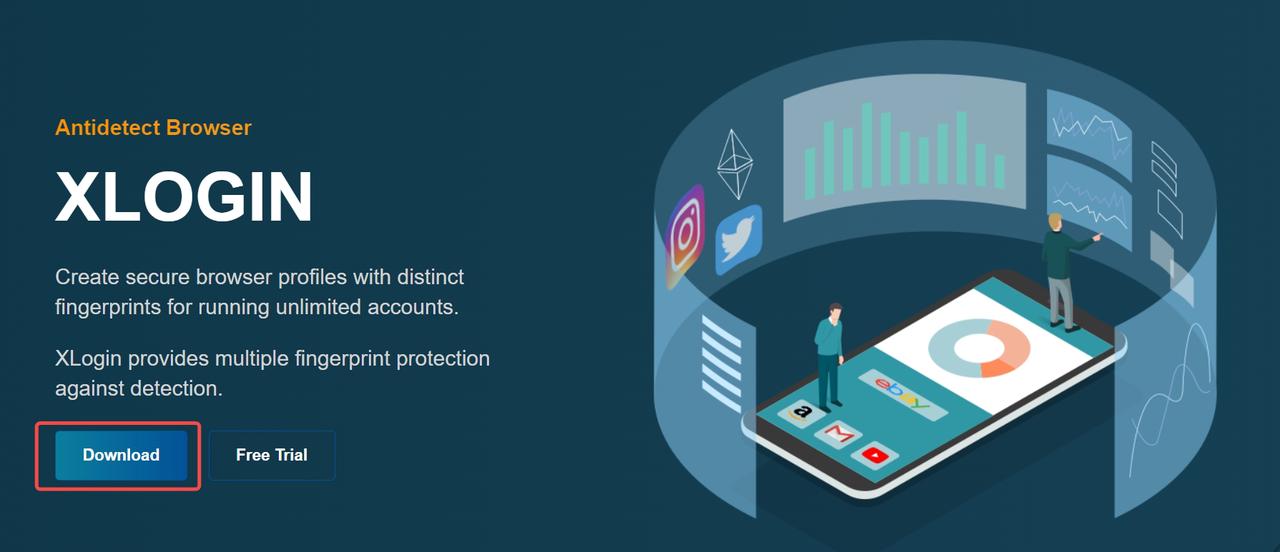
XLogin Antidetect Browser is a revolutionary tool designed to empower users with complete control over their online identities. It creates isolated browser environments, each with its unique fingerprint, IP address, and cookies, enabling you to manage multiple accounts, access geo-restricted content, and protect your privacy simultaneously.
XLogin Antidetect Browser supports a wide range of browser businesses and industries, including Google, Facebook, Twitter, Amazon, eBay, and many others.
XLogin Antidetect Browser offers a comprehensive set of features that can be categorized as follows:

If you already have an XLogin account, simply enter your registered email address and password in the designated fields. Click "Sign In" to access your XLogin dashboard.
To experience the full features of XLogin, create a free account. Click the "New? Create an Account" button. This will open a registration page where you can set up your XLogin credentials.
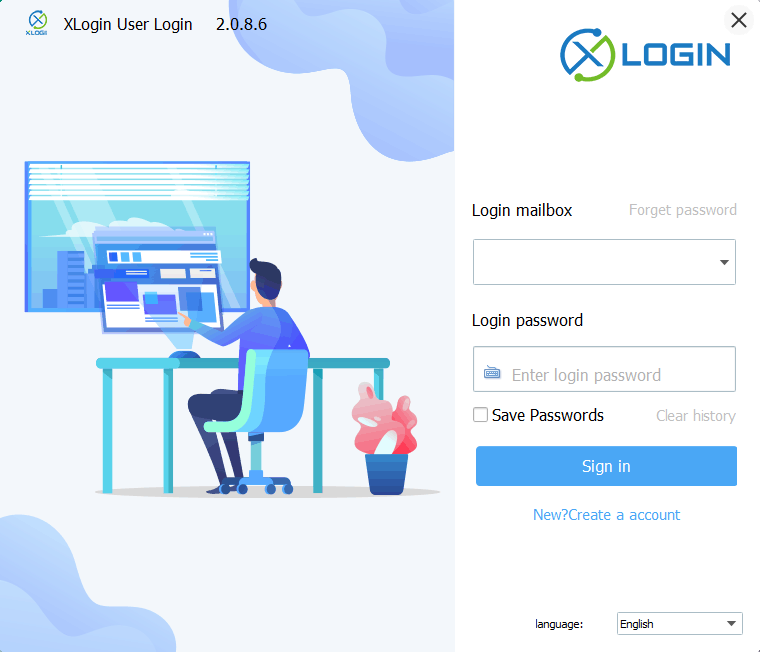
Now that you're logged in (or have created your account), let's configure your first browser profile!
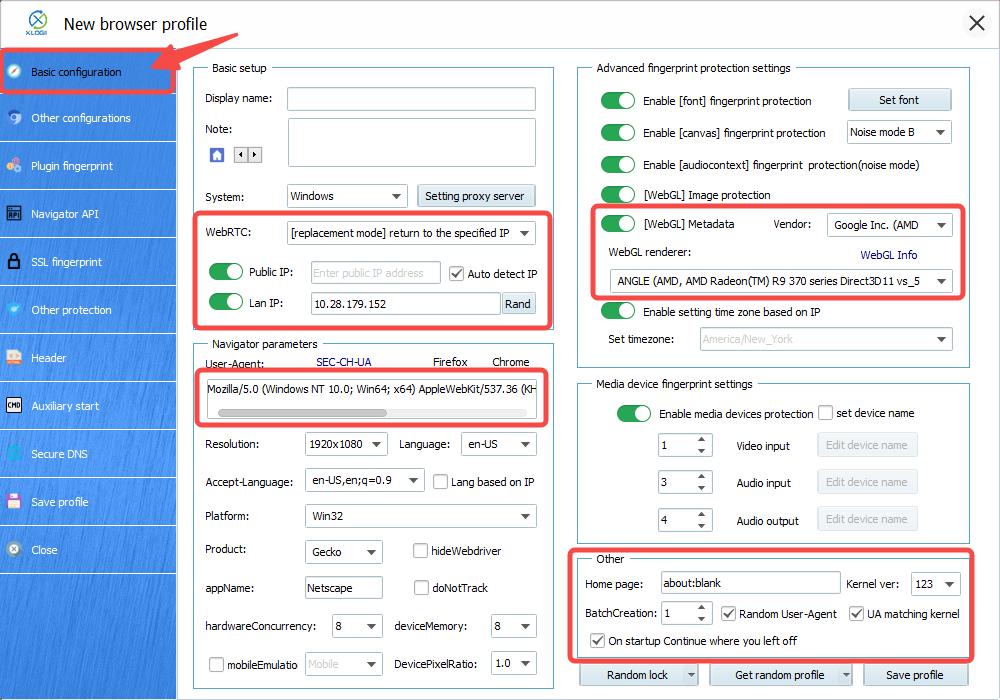
Look for a button labeled "New Browser Profile" on the XLogin home page. Click this button to initiate the profile creation process.

- Display Name: Assign a clear and recognizable name to your profile. This could be the username associated with the account you'll be using or a brief description of its purpose (e.g., "Work Account," "Social Media Profile").
- Select Image (Optional): Enhance organization by selecting an icon or image that visually represents this browser profile. This will help you quickly identify the profile you need when working with multiple ones.
- System: Specify the operating system this profile will mimic. XLogin offers support for Windows, macOS, Linux, Android, iOS, and others. Choosing a mobile system might auto-fill some information, but you can still customize it by modifying the "devices.json" file in the installation directory (refer to the XLogin official tutorial for details).
- WebRTC: WebRTC can potentially reveal your IP address. Choose "Replacement Mode" to provide websites with specific IP information you define, or select "Disable Mode" to block websites from accessing your IP through WebRTC.
Tip: For an in-depth explanation of each setting, visit the XLogin official tutorial which provides detailed information and additional configuration options.
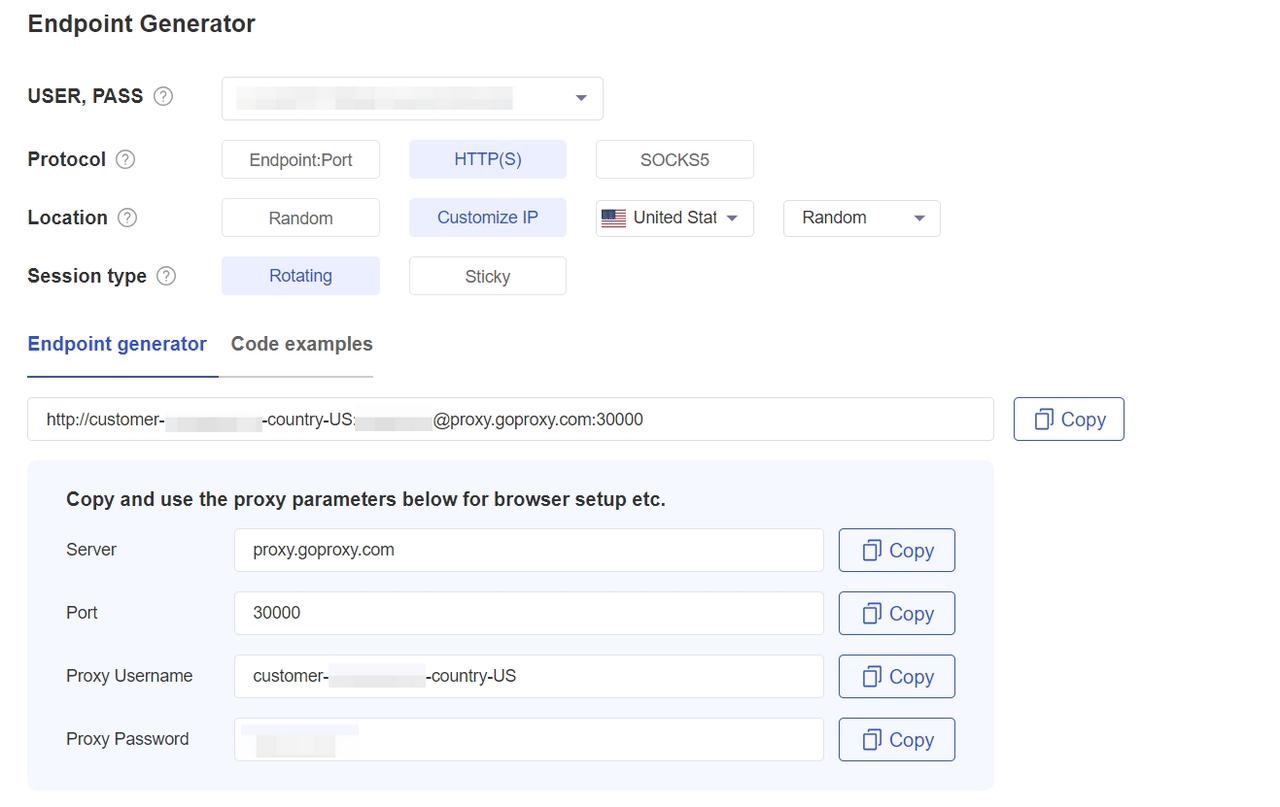
While XLogin doesn't provide its own proxy service, it seamlessly integrates with external providers like GoProxy to strengthen your online security. Here's how to connect XLogin to a proxy server using GoProxy:
Head over to GoProxy (or your chosen proxy provider) and sign up for a free trial or purchase a plan. This will provide you with unique proxy credentials (typically an IP address and port number).
Depending on the type of proxies, the IP address and port are different. See details in the following table.
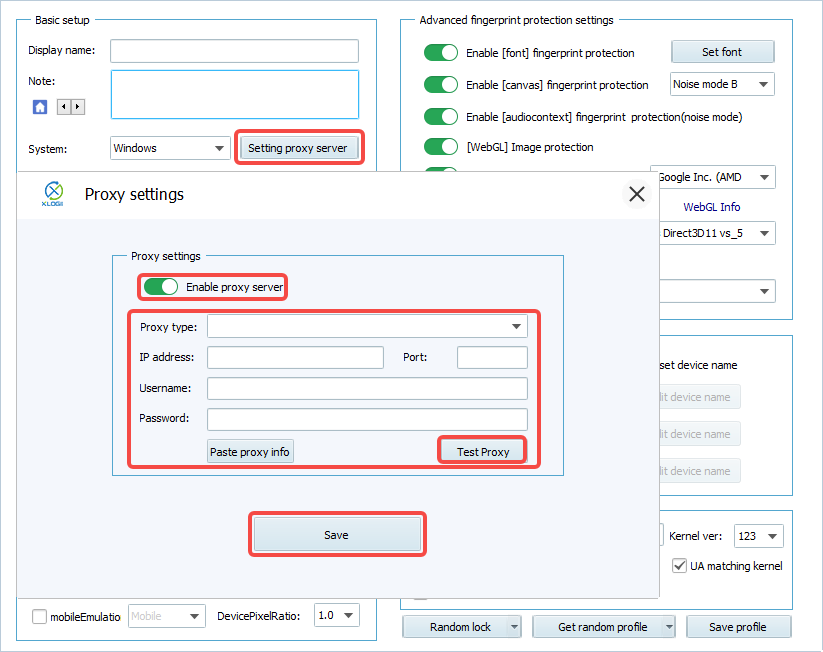
XLogin offers the option to test the proxy connection before finalizing the configuration. Click on "Test Proxy" to ensure the connection is functioning properly. Once satisfied with the test results (or if you choose not to test), click on "Save" to apply the proxy settings to your XLogin profile.
It's crucial to assign a unique IP address to each XLogin profile. If you plan to log in to the same website with multiple accounts, create separate profiles with distinct IP addresses for each account.
- Locate Your Profiles: Navigate to the "Browser Profiles" section within XLogin. Here you'll see a list of all your configured profiles. - Launching Your Chosen Profile: Simply double-click the profile you wish to use. This will launch a new browser window associated with that specific profile.
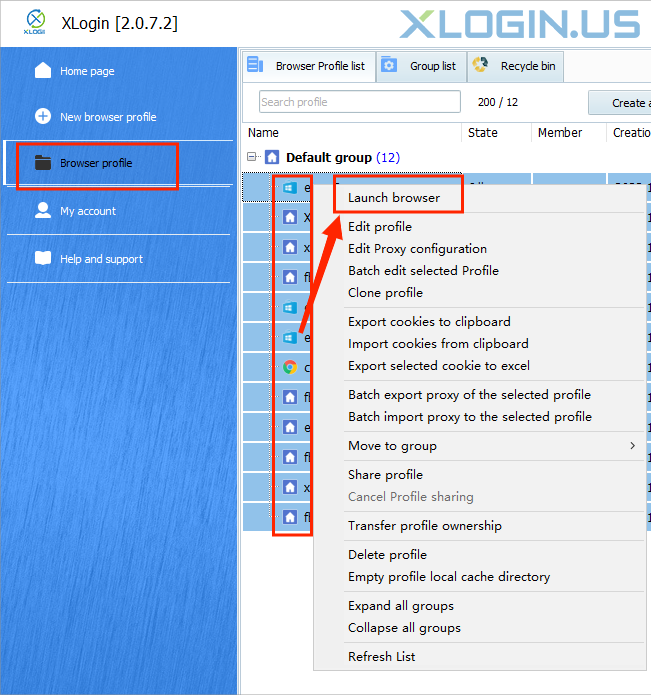
- Need to manage multiple accounts across different websites? XLogin streamlines this process:
- Multi-Select Profiles: Similar to selecting multiple files in Excel, hold down the "Ctrl" key (or "Command" key on macOS) and click on the profiles you want to launch simultaneously.
- Right-Click and Launch: Once you've selected the desired profiles, right-click on any of the highlighted profiles.
- Batch Launch: From the right-click menu, choose the option "Launch Browser." This will initiate XLogin to open each selected profile in a separate browser window, allowing you to manage multiple online identities concurrently.
Remember: If you've set up multiple profiles, each should have a unique IP address to ensure proper account separation and security.
Congratulations! You've successfully set up and configured XLogin Antidetect Browser. To ensure you've fully understood, let's revisit the key points:
XLogin Antidetect Browser is more than just a browser; it's a comprehensive privacy and management solution. With its user-friendly interface, robust features, and top-notch support, XLogin empowers you to take charge of your online identity. So why wait? Download XLogin today and experience the freedom of a truly private browsing experience!
< Previous
Next >


 Cancel anytime No credit card required